A Step-by-Step Guide to Daily Puja for Your Stone Shiva Idol
Introduction to Daily Puja
Daily puja, a vital aspect of Hindu worship, is a ritual performed to seek blessings, express gratitude, and maintain a close connection with the divine. A significant element of this practice involves the worship of deities, with the stone Shiva idol being one of the most revered representations in Hinduism. The term “puja” itself derives from Sanskrit, meaning “to worship,” encapsulating the essence of devotion that is central to Hindu spiritual practices.
The significance of daily puja extends beyond mere ritual; it reflects an individual’s commitment to spirituality and the pursuit of a deeper understanding of their faith. For devotees of Lord Shiva, engaging in daily worship of the stone idol enhances their connection to the divine energy that Shiva embodies. This connection is believed to offer profound spiritual benefits, such as inner peace, clarity of mind, and emotional stability. By consistently performing puja, worshippers can cultivate a sacred atmosphere in their homes, fostering an environment conducive to reflection and meditation.
Moreover, daily puja acts as a reminder of one’s spiritual responsibilities and the virtues of discipline and devotion. It invites individuals to pause amidst their daily routines, encouraging moments of introspection and gratitude. As devotees engage in this ritual, they not only honor the deity but also reinforce their own values and beliefs, which can manifest as a more harmonious life experience.
In essence, integrating daily puja into one’s routine serves not only as an act of worship but also as a journey towards self-discovery and connectivity with the broader universe. By fostering this daily relationship with Lord Shiva through the stone idol, devotees can expect to experience a warmth of divine presence that nurtures their spiritual paths.
Gathering Essential Puja Items
Conducting a daily puja for your stone Shiva idol requires careful preparation and the gathering of essential items that play a significant role in the worship process. Each item contributes to the sanctity and effectiveness of the ritual, ensuring a meaningful connection with the divine. Here is a detailed list of these necessary items:
Flowers: Fresh flowers are symbolic of beauty and purity. They are offered to the idol as a sign of devotion and respect. Popular choices include white lotuses, marigolds, and roses, as they enhance the atmosphere of the puja space.
Incense: Incense sticks are an integral part of any puja. The enchanting aroma of incense is believed to purify the surroundings and create a serene environment conducive for prayer. It represents the surrender of one’s mundane worries to the divine, promoting mindfulness during worship.
Water: Water is a vital element in Hindu rituals, as it signifies purity. It is used for performing the ceremonial abhishekam (ritual bathing) of the idol, which symbolizes the washing away of sins and the cleansing of the worshipper’s soul.
A lamp: Lighting a lamp is a key aspect of the puja procedure. A small oil lamp or diya is lit to welcome the divine presence into the space. This act symbolizes the dispelling of darkness and ignorance, metaphorically enlightening one’s spiritual path.
A bell: The ringing of a bell throughout the puja serves as an audial cue to invoke the deity’s attention. It is believed to ward off negative energies and indicate the sincerity of the devotee’s prayers.
Offerings (Fruits and Sweets): Fruits and sweets are integral offerings, symbolizing the sharing of prosperity and gratitude. Fruits represent natural abundance, while sweets signify the sweetness of devotion and the joy of divine connection.
By assembling these essential puja items, you set the foundation for a sacred and meaningful daily ritual dedicated to your stone Shiva idol, fostering both spiritual growth and inner peace.
Preparing Your Puja Space
Creating an ideal puja space is fundamental for performing daily rituals, particularly when conducting puja for a stone Shiva idol. The first step in preparing this sacred environment is ensuring cleanliness. A tidy and organized space not only reflects respect for the deity but also aids in fostering a peaceful atmosphere conducive to worship. Start by decluttering the area where the puja will be conducted, removing any unnecessary items that might distract from the spiritual experience.
Next, the arrangement of the Shiva idol is crucial. It is recommended to place the stone idol on a dedicated altar or platform, ensuring it is positioned at a height that captures your attention while maintaining comfort during the offering of prayers. The idol should be facing east, allowing the energy to flow positively during the rituals. Additionally, ensuring the idol is adorned with fresh flowers and proper symbols associated with Lord Shiva will enhance the sanctity of the space and signify the respect you hold for the divine.
Lighting forms an essential part of the puja setup. Use traditional oil lamps or candles, placing them strategically around the idol. The warm glow not only adds to the beauty of the altar but also signifies the presence of divine light during worship. Further, incorporating incense sticks can elevate the atmosphere, as the fragrance helps to calm the mind and elevate spiritual focus. It is advisable to choose scents that are in alignment with spiritual practice, such as sandalwood or jasmine, which are known for their purifying properties.
Finally, consider integrating elements such as a small table or tray where you can place your puja items—like offerings, a bell, and the sacred texts. The overall goal should be to create a serene environment that nurtures devotion and concentration, thereby enhancing the daily worship experience with your stone Shiva idol.
Performing the Ritual: Step-by-Step
Performing daily puja for your stone Shiva idol is a sacred practice that connects you to divinity and allows for spiritual growth. This step-by-step guide will help you carry out the ritual with reverence and devotion, ensuring that each action is both meaningful and effective.
Start by preparing your puja area. Choose a clean and quiet space where your stone Shiva idol will be prominently displayed. Begin the ritual by invoking Lord Shiva. This can be done by reciting a simple mantra or shloka dedicated to Him, such as “Om Namah Shivaya.” Gently ring a bell to signal the start of your devotion.
The next step is to offer water to the idol. Using a small spoon or vessel, pour water over the idol while reciting prayers, allowing the water to sanctify the idol. After this, apply sandalwood paste on the forehead and other parts of the idol. The soothing fragrance of sandalwood enhances the puja’s spiritual atmosphere.
Once the paste is in place, offer fresh flowers to the Shiva idol. Choose a variety of flowers, if possible, as each type carries its own significance. Lightly place the flowers at the idol’s feet or around its structure, expressing your gratitude and devotion.
Following the flower offering, it is customary to light incense. The aromatic smoke purifies the environment and symbolizes devotion rising towards the heavens. Wave the incense sticks gently in front of the idol as you meditate on Lord Shiva.
No puja is complete without the ritual of arati. Use a diya (lamp) with a cotton wick soaked in ghee or oil. Circulate the diya in a circular motion in front of the idol, chanting the arati prayers. This act of worship not only honors the deity but also fills the space with sacred energy.
Conclude the puja by offering a heartfelt prayer or intent for peace and prosperity, thanking Lord Shiva for His blessings. This systematic approach ensures that each element is respected and that you forge a deeper connection with the divine through your stone Shiva idol.
Mantras and Chants for Invocation
The act of performing puja is often characterized by the recitation of mantras and chants that elevate the spiritual ambiance and focus the mind of the worshiper. For those honoring Lord Shiva, the use of specific mantras is highly significant, as they invoke divine energy and facilitate a connection to the deity. These mantras are not merely recitations; they carry profound meanings and are believed to resonate with the vibrations of the universe.
One of the most revered mantras associated with Lord Shiva is the “Om Namah Shivaya.” This mantra is considered the essence of devotion, symbolizing the salutation to the supreme consciousness. Each utterance allows the viewer to transcend physical boundaries, inviting tranquility and spiritual insight. The repetition of this potent phrase is believed to foster a serene mind and cultivate inner peace, making it a fundamental chant during daily puja rituals.
Another notable mantra is the “Maha Mrityunjaya Mantra,” which is a powerful incantation dedicated to Lord Shiva for protection and healing. The mantra goes as follows: “Om Tryambakam Yajamahe Sugandhim Pushtivardhanam, Urvarukamiva Bandhanan, Mrityor Mukshiya Maamritat.” It is chanted to overcome fears and promote longevity, thereby aligning the worshiper’s energies with health and vitality. The practice of invoking this mantra during the puja not only enhances spiritual well-being but also imbues the environment with protective energies.
Furthermore, devotees may also recite the “Shiv Tandav Stotra,” a powerful hymn that praises Lord Shiva’s attributes and exploits. This sacred composition is believed to evoke strength and positivity, making it an excellent choice for those seeking empowerment through their puja rituals. By integrating these mantras into daily worship of the stone Shiva idol, devotees can deepen their spiritual connection and experience heightened devotional engagement.
Significance of Offering Food and Flowers
In the context of daily puja for a stone Shiva idol, the offerings of food and flowers hold profound spiritual meaning. Each element presented during the ritual serves as a symbol of devotion and respect to Lord Shiva, illustrating the devotee’s heartfelt intentions and gratitude. The practice of offering food, known as ‘Naivedya,’ underscores the belief in nurturing the divine presence with backdrops of sustenance and abundance. This act not only signifies the physical nourishment necessary for life but also represents the devotion that nourishes the spirit, reaffirming the devotee’s bond with the Almighty.
The type of food offered can vary widely, encompassing fresh fruits, sweets, and prepared dishes, all carefully selected based on personal significance and local customs. The act of preparing these offerings is often regarded as a form of reverence, transforming ordinary ingredients into sacred meals meant for divine consumption. Additionally, offering food to Lord Shiva serves to reflect the understanding that all sustenance comes from the divine source, fostering a sense of gratitude among worshippers.
Similarly, the use of flowers in puja rituals carries immense significance. Flowers symbolize beauty, purity, and transience, embodying the essence of life and the natural cycle of creation and decay. By presenting flowers to Lord Shiva, devotees also convey their respect and love, as flowers are seen as a gesture of offering one’s heart. Each flower has its own significance; for example, Bael leaves are particularly favored in Shiva worship, representing devotion and sincerity.
In essence, the offerings of food and flowers during the daily puja ritual exemplify the devotee’s commitment to honoring Lord Shiva. This sacred practice encapsulates feelings of love, reverence, and gratitude, acting as a medium for spiritual connection and fulfillment within the broader context of worship.
Concluding the Puja and Daily Reflections
As you reach the conclusion of your daily puja for your stone Shiva idol, it is essential to approach this final stage with reverence and gratitude. The closing rituals not only signify the end of your worship but also provide an opportunity for mindfulness and reflection. To perform the conclusion effectively, begin by offering your heartfelt thanks to Lord Shiva for his divine presence in your rituals and the spiritual energy bestowed upon you throughout the day.
After the rituals are complete, it is customary to take ‘prasad’ following the puja. Prasad is the blessed food or offering that symbolizes the deity’s grace and nourishment. Consuming prasad is a way to express gratitude and acknowledge the connection established during the puja. It is recommended to share the prasad with family members, as this act fosters togetherness and reinforces shared spiritual experiences. When partaking in prasad, take a moment to reflect on your intentions and the insights gained during the puja.
The closing of the puja is also an opportune time for personal reflection. Create a serene environment that promotes introspection. Consider journaling your thoughts or meditative practices that help consolidate your experiences. This could include contemplating the day’s reverence, evaluating your thoughts, and setting positive intentions for the hours or days ahead. Focus on the lessons learned and how you can incorporate these teachings into your daily life.
By thoughtfully concluding your puja and engaging in reflections, you can cultivate a deeper spiritual connection to your stone Shiva idol. This closing practice not only honors the divine presence but also fosters personal growth and mindfulness, enriching your experience of daily worship.
Common Mistakes to Avoid
Practitioners engaged in daily puja for their stone Shiva idol may encounter several common pitfalls that can hinder the sacred experience. First and foremost, one frequent mistake is neglecting certain essential steps in the ritual. Each component of the puja serves a specific purpose and omitting any step, such as the proper cleansing of the idol or the offering of specific items like milk or fruits, can diminish the sanctity of the worship. It is crucial to adhere to the guidelines outlined in traditional puja rituals to ensure a complete and respectful offering.
Additionally, practitioners often find themselves distracted during worship, which detracts from the spiritual aspect of puja. The modern world is filled with distractions, and it is easy to let thoughts wander or engage with devices during this sacred time. To combat this, it is advisable to create a dedicated, serene space for worship, free from interruptions. Setting aside a specific time for daily puja can also help practitioners remain focused and present during their rituals.
Another common error is the failure to express gratitude at the completion of the puja. Offering thanks is an integral part of the worship process and reinforces the bond between the devotee and the divine. Neglecting this expression can lead to feelings of disconnect. To address this, practitioners should develop a habit of concluding their daily puja with a moment of reflection, giving thanks for the blessings received and acknowledging the presence of the divine in their lives.
Being aware of these potential challenges is the first step toward enriching one’s daily puja practices for a stone Shiva idol. By mindfully navigating these common mistakes, practitioners can enhance their spiritual connection and fully appreciate the daily rituals they engage in.
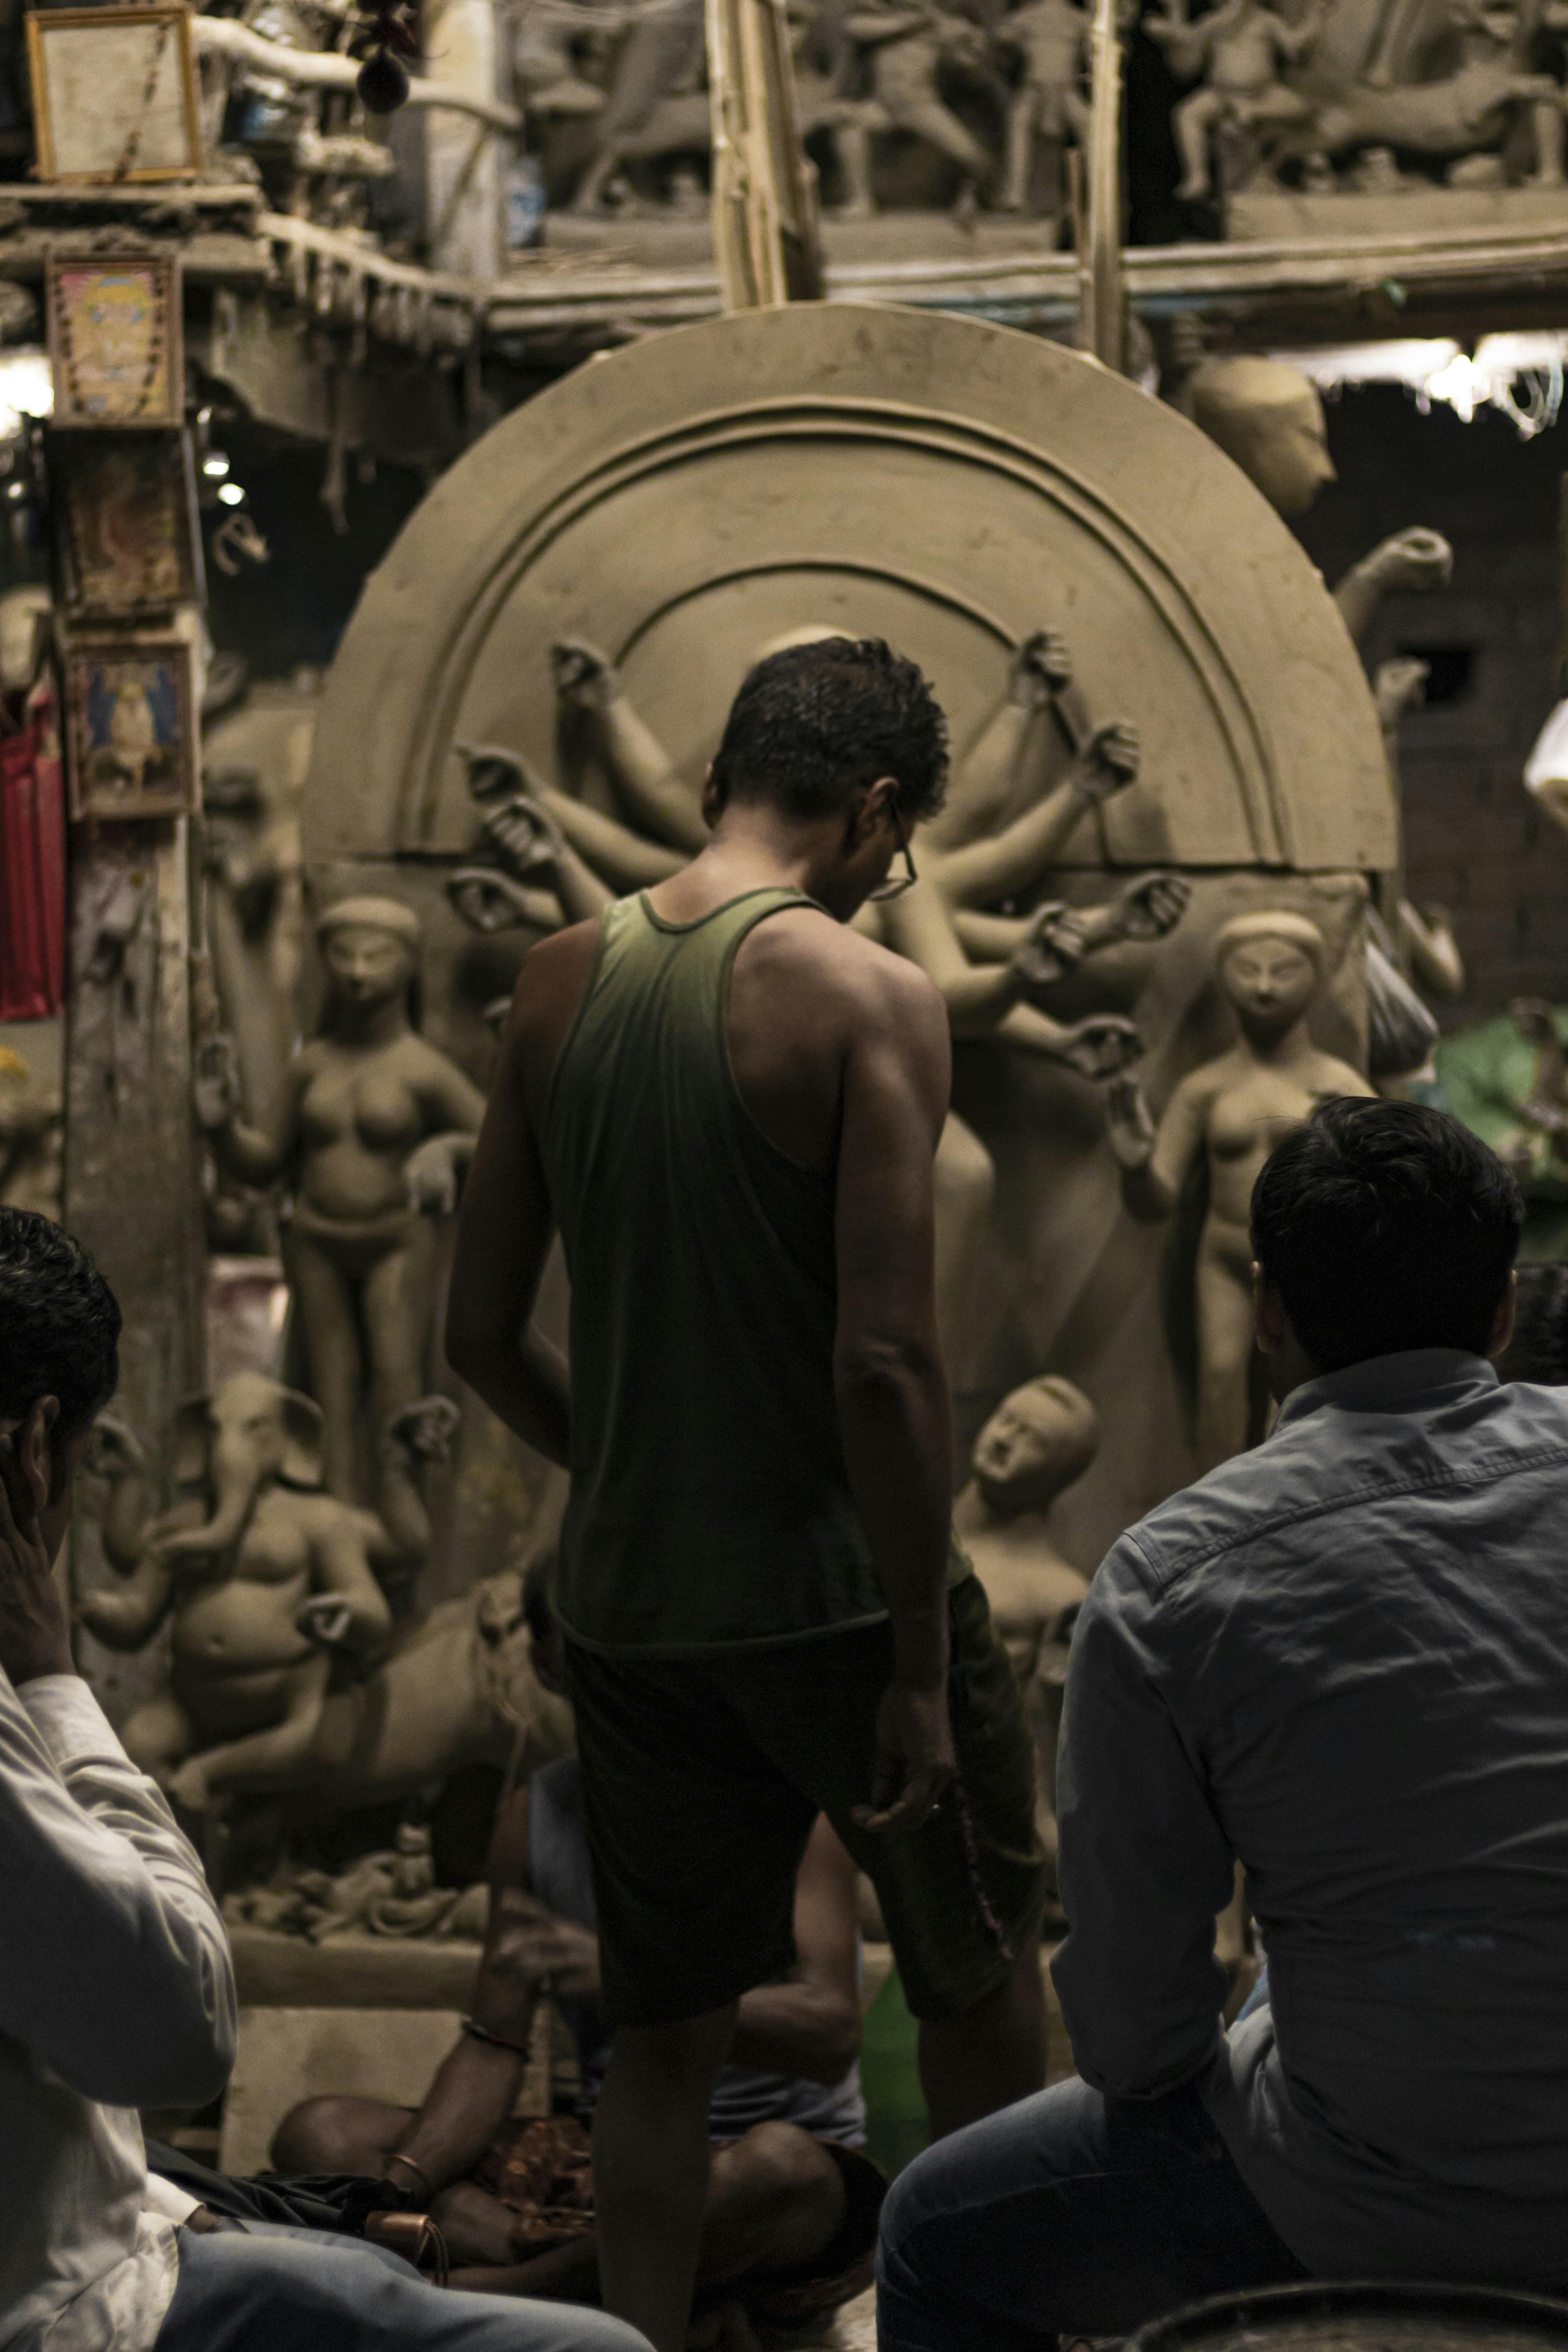
Explore Unique and High-Quality Stone Shiva Idols
When it comes to enhancing your daily puja routine, the choice of idol plays a significant role in the overall experience of worship. At Channel M2 Art Studio, devotees can find an exceptional range of stone Shiva idols that are meticulously crafted to accentuate your spiritual practice. The artisanal quality of these idols not only reflects the divine attributes of Lord Shiva but also serves as a focal point during your daily rituals.
Channel M2 Art Studio specializes in high-quality stone sculptures that are created with great attention to detail and reverence for the cultural significance of these religious icons. Each idol is designed to facilitate a deeper connection with the divine, allowing worshippers to immerse themselves fully in their prayers and offerings. The diverse selection of idols, ranging from traditional to contemporary styles, ensures that you will find something that resonates with your personal aesthetic and spiritual needs.
Moreover, the studio prides itself on sourcing materials that are not only visually appealing but also spiritually uplifting. This commitment to quality has made Channel M2 Art Studio a trusted name among devotees seeking the perfect representation of Lord Shiva for their home shrines or temples. The stone used in the crafting of these idols is chosen for its durability and beauty, enhancing the overall ambiance of your puja space.
To make your shopping experience seamless, Channel M2 Art Studio provides easy navigation through its website, allowing you to explore the vast collection of Shiva idols. Detailed descriptions accompanying each piece help customers understand the significance of their choices. Visit Channel M2 Art Studio today to discover the ideal stone Shiva idol that will elevate your worship and enrich your spiritual journey.
A Step-by-Step Guide to Daily Puja for Your Stone Shiva Idol Read More »